Welcome to Expression Web. When you first launch the program, you’ll find a number of task panes, toolbars, and dialogs with a wide range of features.
You can customize the interface by docking and undocking Toolbars, opening and closing task panes and changing preferences settings.
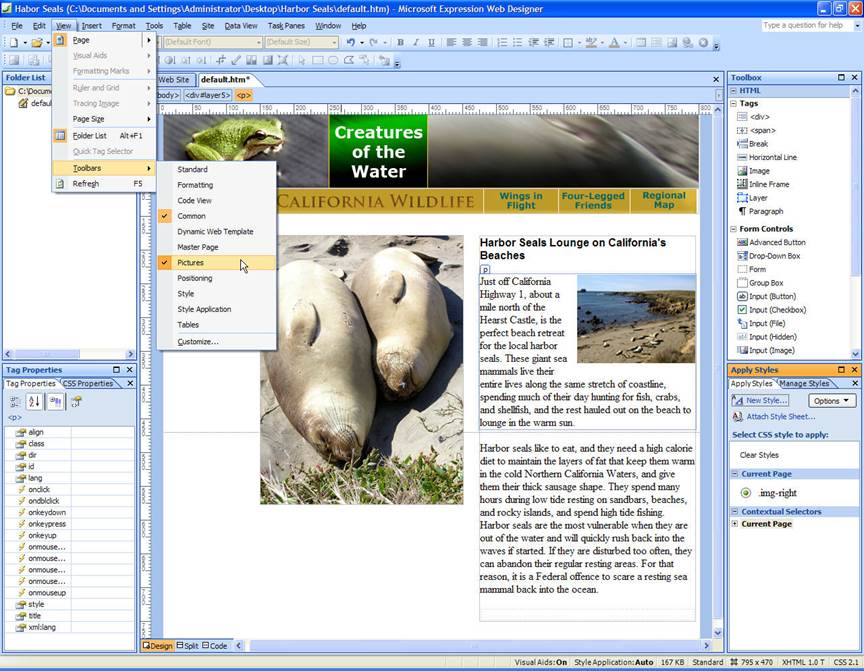
You’ll find the various Toolbars, including dedicated toolbars for working with images and CSS, under the View menu when you choose Toolbars. You can open and close task panes by selecting them from the task panes menu, and you can change preferences, by selecting Tools | Application Options or Tools | Page Editor Options, and you can specify preferences for a particular site by choosing Site | Site Settings.
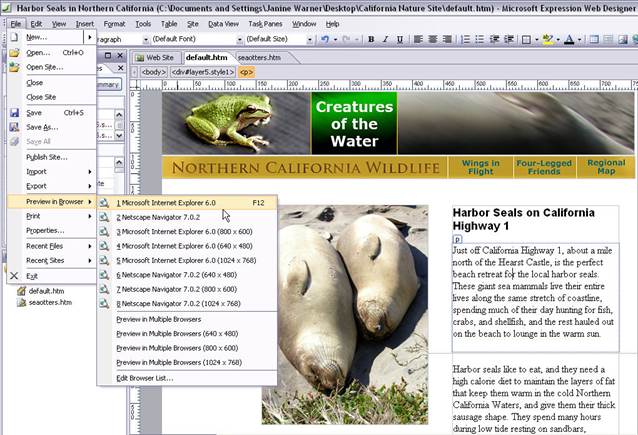
Here’s a sneak preview of the page we’ll be making in this lesson with the toolbars menu option open.
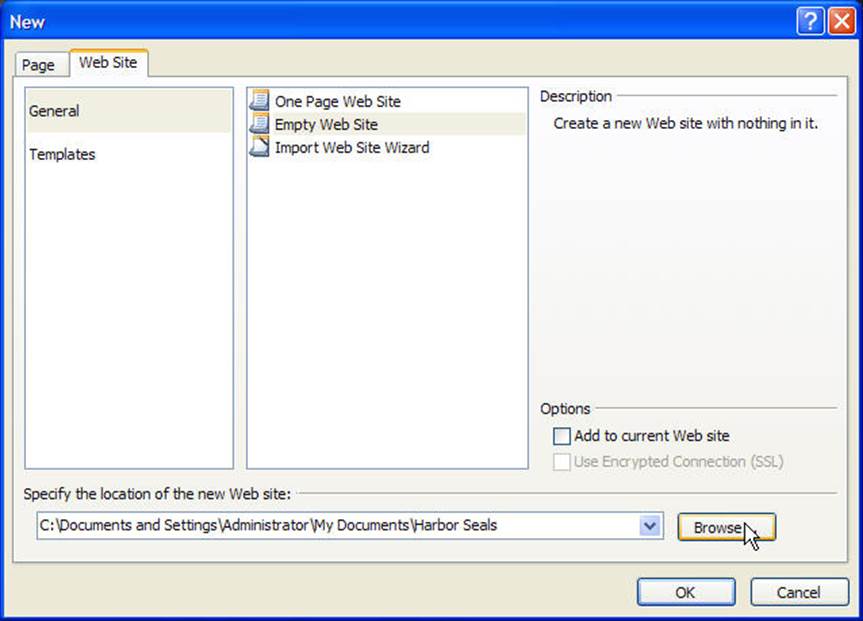
Now that you’ve created a root folder for your site, EW will store all of your files in this folder and that helps ensure that your links and images will work properly when you publish them to a web server.
Creating a New Page
Now for the easy part. To create a new HTML document, choose File New Page and then specify the kind of page you want to create. For this example, we’ll be working with an HTML file. As a shortcut, you can choose, File HTML.
Before you do anything else, it’s good to get in the habit of saving your page. If this is the main page of your site, so you’ll want to call it index.html or default.html, depending on how your server is set (check with your hosting service or system administrator.)
The rest of the files and folders in your site you can name anything you like, but it’s best not to use spaces or special characters because many Web servers have strict naming conventions and the file name affects your links.
Another good habit is to set all of the Page Properties settings right away. You’ll find these settings when you choose File à Properties. Settings made in this dialog will apply to the entire page.
First, add a page title. This is the text that appears in the very top of a browser window and it’s also the text that is saved in the bookmarks list when someone bookmarks your page.
Under the Formatting tab in this same dialog, you can specify text, background, and link colors for your page. For this exercise, leave the background and text colors set to white and black, but change the link colors as follows. Hyperlink | Maroon, Visited Hyperlink | Silver, Active Hyperlink | Yellow, and Hovered Hyperlink | Yellow.
Under the Advanced tab, you can set the Margins. I recommend setting all of the margins to 0 to get rid of the default space that creates a little margin all the way around the edge of the page when displayed in a browser.
Creating Page Layouts with Layers
Now that you have your site and your first page set up, you’re ready to start adding content. Let’s begin by creating the layout for this page using the Layers option.
Layers in Expression Web are created using div tags with CSS and absolute positioning. That means you can place them anywhere on the page specifying to the pixel where they should be placed and they will remain in precisely that location. Once you’ve inserted a layer into your page, you can insert any element, such as a graphic or some text, into the layer.
Layers are a popular choice among designers because they provide such precise layout control, but you should know that this is only one of many ways to create designs using CSS in Expression Web.
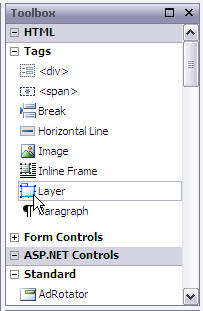
- To add a layer to a page, click to select the Layer icon in the Toolbox task pane and drag it onto the page. The layer will automatically appear in the top left of the page.
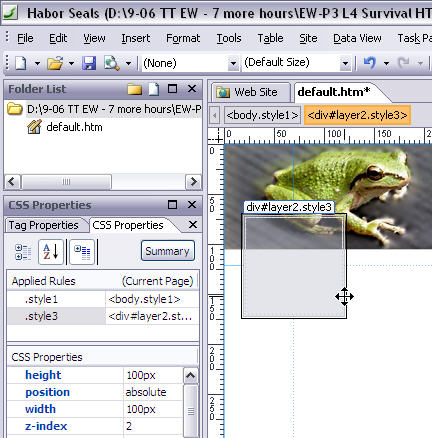
- To create the page layout for this design, click and drag to insert a layer at the top of the page. You can resize a layer by clicking and dragging on any of the corners of the layer. You can also use the CSS Properties task pane to specify the height and width in pixels.
Note: I know the image I’m going to insert into this layer is 800 pixels, so that’s the size I want to make this layer, but if you didn’t know the image size, you can insert the image in the layer even if it was too small for the image, and it will expand to accommodate the image. You can then check the actual image size by selecting it and noting the height and width in the Tag Properties task pane.
- To insert an image, choose Insert | Picture | From File and select an image from your hard drive. If you’re using the lesson files provided, choose the seals-top.jpg.
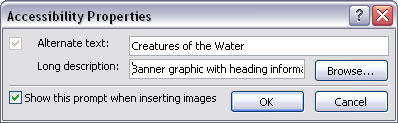
- In the Accessibility Properties dialog, enter a description of the photo. For this example, enter "photo of Harbor Seals on the beach."
Note: Alternate text entered into the Accessibility Properties dialog is inserted into the code behind the image and is a requirement for compliance with accessibility standards because many people use browsers that “read” pages to them and this text provides an explanation of the image.
You can use the Tag Properties task pane to see the actual size of the image, and then set the layer to the exact size in the CSS Properties task pane. In this example, you can see that I’ve set the Layer Width to 800 pixels and the height to 105 to perfectly accommodate this image. Note the top and left settings should both be 0 to position this layer in the upper left corner of the page.

5. Next add a second layer by clicking to select the layer icon in the Toolbox and dragging it onto the page. Then click and drag the layer to position it just below the first layer.
Again you can set the height and width in the CSS Properties task pane. You can also specify the position of the layer in this task pane. This second layer, should be set to Left, 0, and Top 105 to appear immediately below the top layer aligned to the far left. For this example, I set the height and width to accommodate the image, which is 800 by 35.
- Insert another image into the second layer. If you’re using the files provided for this exercise, insert the seals-nav.jpg image just as you inserted the top image by choosing Insert | Picture | From File and then selecting the file seals-nav.jpg.
Adding and Adjusting Layers
Continuing with this page design, we'll now add three more layers, inserting content into each one, and then in a later step, we'll use the CSS Properties task pane to precisely position them so that the top of each layer lines up perfectly when we're done.
- Click to select the Layer icon in the Toolbox and drag in another layer. Use the image below as a guide to position each layer on the page, and then copy and paste the text from the Word document provided. Don't worry about getting the layer in exactly the right place on the page or exactly the right size, we'll make those adjustments next.
- Open the word file included in the sample files provided with this guide and copy the top four lines of text, switch over to Expression Web, place your cursor in the new layer and paste the text. Note: You can use the key command Alt + tab to switch between open programs.
Alternatively, you can place your cursor into the new layer and enter the text by typing:
Sea Otters
Seals
Water Fowl
Frogs
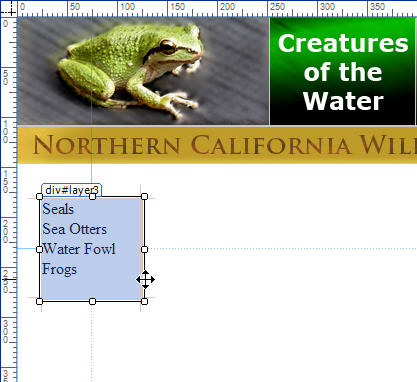
- Next click and drag in another new layer and position it in about the middle of the page, as you see in the image below.
- Click to place your cursor in the new layer and choose Insert | Picture | From File and select the seals-bg.jpg to insert it into the layer.
- Resize the layer to better fit the image by changing the height and width in the CSS Properties task pane. If you're using the sample image provided, the height is 398 pixels and the width is 300 pixels.

And here's a trick, if you're not sure how big an image is, you can click to select the image, then open the Tag Properties task pane and check the height and width fields to determine the size of the image. (Expression Web automatically adds the height and width when it inserts an image.)
- Next click and drag in another new layer and position it at the far right side of the page, as you see in the image below.
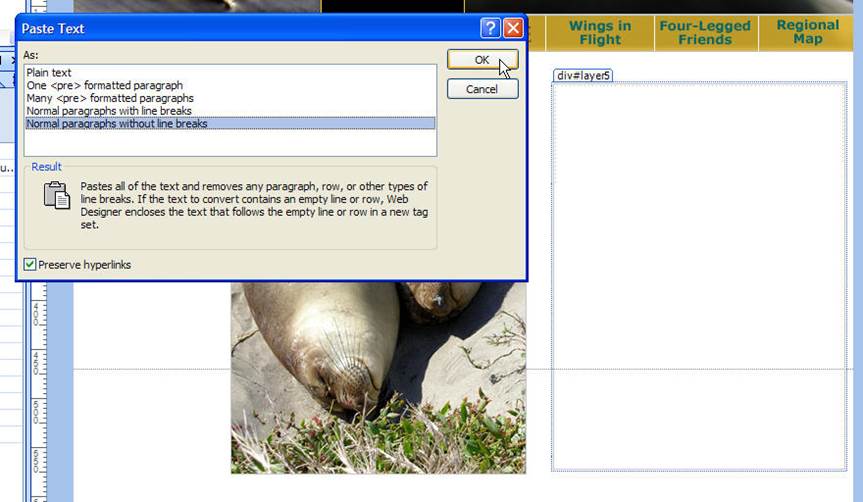
- Again, open the Word file name seals.doc that came with your lesson files and this time copy all of the text below the top four lines and switch back to Expression Web.
- Click to place your cursor in the new layer and this time, choose Edit | Paste Text to open the paste text dialog. This feature provides more options for how you include formatting when you paste text into Expression Web. For this example, I recommend the last option: Normal paragraphs without line breaks.
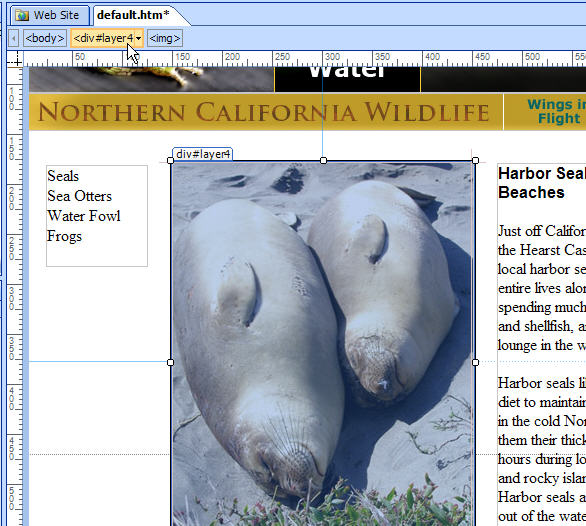
- Finally, let's add a headline to the story. Click to insert your cursor into the new layer on the right and use the arrow keys as necessary to get your cursor in exactly the top left corner of the layer.
- Press the return key to add two lines, use the arrow keys to return to the top left, and enter "Harbor Seals Lounge on California's Beaches."
Formatting Headline Styles
Next, we'll format the headline with a header tag and then redefine the style of the header tag to change the font and size.
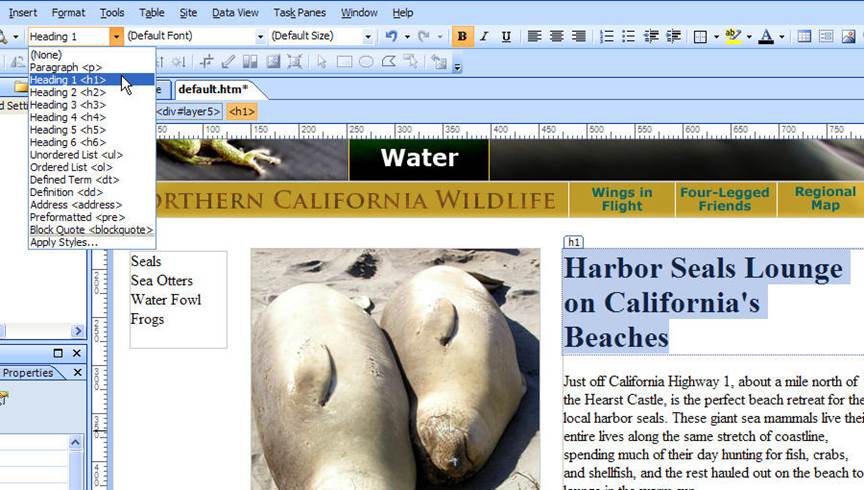
- Click and drag to select the headline you just added: Harbor Seals Lounge on California's Beaches.
- From the Common toolbar choose Heading 1 <H1| and the text will automatically resize and become bold.
- Heading styles offer many advantages, but if you don't like the way they appear, you can change the style by creating a new CSS Style. To do so, click on the New Style link in the Apply Styles or Manage Styles task panes.
- In the New Style dialog, choose a selector. If you click on the arrow next to the Selector field, you can choose any HTML tag to redefine its appearance. For this example, choose h1. Leave the Define in option set to Current Page. (Note, you can also created external style sheets with Expression Web.)
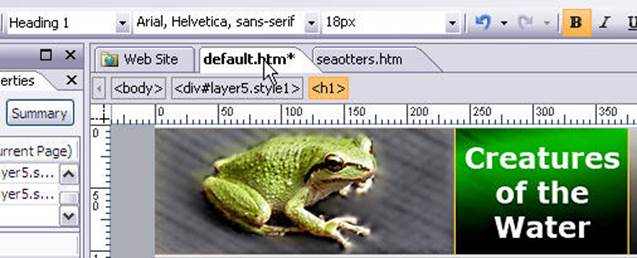
- With the Font Category open, set the Font-Family to Arial, Helvetica, sans-serif.
- In the Font-size field enter 16 and make sure the size is set to px for pixels. (Note: you can also choose from many options when specifying font size in Expression Web.)
- When you click OK the new style is automatically applied and the headline you formatted with the h1 tag automatically changes to reflect the new style.

Positioning Layers with the CSS Properties task pane
Even after you add content to layers, you can still use click and drag to resize and move them around. If you want to be even more precise, you can use the CSS Properties task pane and enter in the exact height and width, as well as the position you want for each layer. Here's how you can use the CSS Properties task pane to align images:
- First you'll need to select each layer one at a time, and here's a tip. If you're having trouble selecting the layer instead of the contents within the layer, you can use the Breadcrumb trail at the top of the work window to insure you've selected the layer. As you see in the image below, I've used the Breadcrumb trail to select the middle layer, which is especially tricky because when you have an image in a layer it's easy to select an image by mistake when you want to select a layer.
- To adjust all three layers so that they line up with each other at the top, you'll want to set the top position so that it's the same for all three. In this case, they should all end up 180 pixels from the top of the page, meaning the top of the layer will be exactly 180 pixels from the top of the browser window. To do that, select a layer and then click the CSS Properties task pane tab.
- To position the layer, change the top field, under the Position category of properties, by entering exactly 180 pixels.
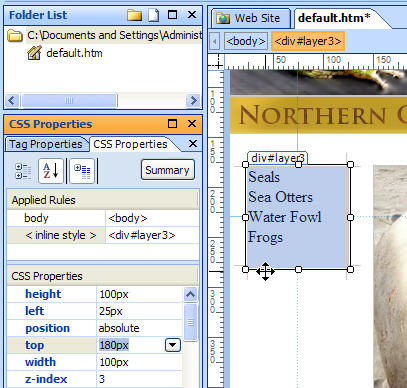
- Next, select the middle layer (the one with the photo of the two seals) and change the top field to 180 pixels. And finally, select the third layer (the one with the story and headline) and change the top field to 180 pixels. This should align all three layers.
Note: If your layers aren’t lining up properly, one possible reason is that you’ve created layers nested inside other layers. As you become more adept with layers, you can use nesting to group layers, but when layers are nested, their position is affected by the layer they are connected to.
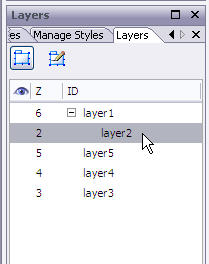
You can nest and un-nest layers in the Layers task pane.
- Open it, by choosing Task Panes | Layers.
- In the Layers task pane, you can click and drag layers to change their order.
As you can see in the image below, layer 2 is nested within layer 1. Dragging layer 2 above layer 1 will un-nest the layer, dragging a layer onto another layer will nest it within the first layer. If you’ve ever moved files in and out of folders on your desktop, the process should feel familiar.
Using CSS to Align Images
Next, we'll add a small image to the layer with the story and headline and create a style to align that image so the text wraps around it.
- First, click to place your cursor at the beginning of the first paragraph in the story, just before the words "Just off California Highway 1…"
- Choose Insert | Picture | From File.
- Select the image called seals-small.jpg and click OK.
- In the Accessibility Properties dialog, enter a description of the photo. For this example, enter "Photo of Harbor Seals on the beach."
Note: When you add an image to a Web page next to text, the image is automatically placed on its own line and the text will begin at the very bottom of the image and continue below it as you see in the previous Figure. If you want your images to be aligned to the left or right of the page and your text to wrap about them, you'll need to change the alignment of the image, and the best way to do that is to create a style. For this purpose, we'll create a class style that can be applied to any element on the page.
- Choose New Style from the Apply Styles task pane.
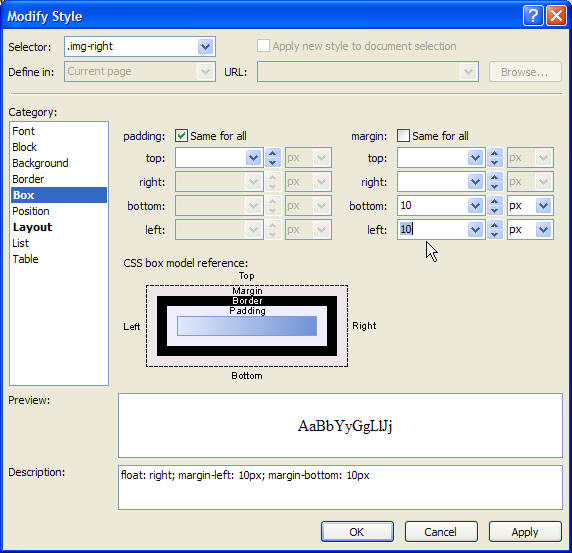
- In New Style dialog, enter .img-right in the Selector field.
- Note: All class styles must begin with a dot or period.
- In the Layout Category of the New Style dialog, set the Float to right.
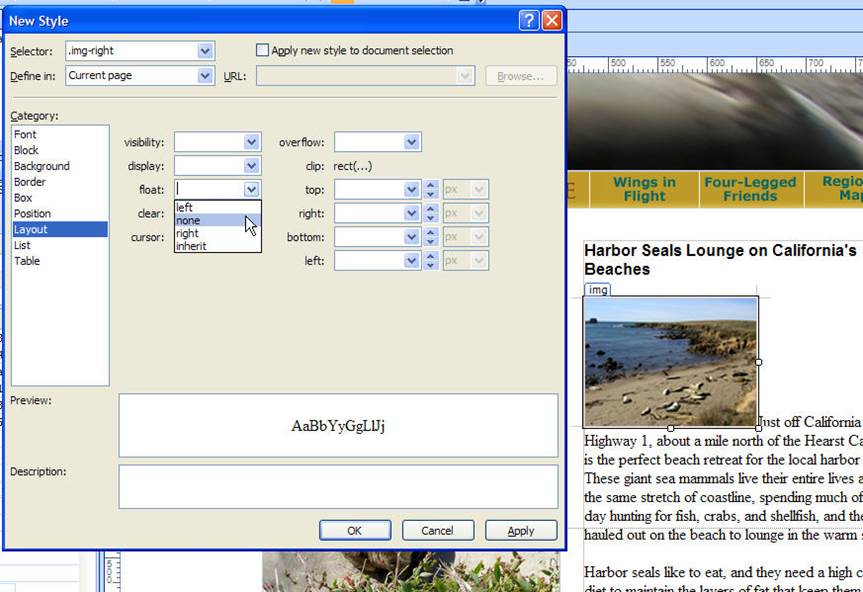
- In the Box Category add Margin space, uncheck the Same for all box above Margin and enter 10 px in the left field and 10 px in the bottom field.
- Click OK to create the new style.
Note: This will create a little breathing room around your image so that the text does not bump right up against the picture. Since we are aligning this image to the right, we're adding add a little margin space to the left and bottom of the image. Notice the CSS box model reference in the middle of this Figure to help you appreciate the difference between Margins and Padding. You may also want to create a style called img-left, with the float set to left and the margins set to 10 px on the right and bottom.
Now that you've created a style to align your image, applying the style is the easy part.
- Click to select the small image of the seals that you inserted into the layer with the story and headline.
- In the Apply Styles task pane, click to select the .img-right style.
The image should immediately align to the right and the text should wrap around to the left with 10 pixels of margin on the left and bottom of the image.
Creating Links
Whether you want to create links to pages in your own site or to another Web site on the Internet, creating links with Expression Web is an easy process. However, before we can link to another page in our new site, we should probably create one. Here’s a quick review of creating a page to get you ready to create your first links.
- Choose File | New | HTML and a new blank page appears in the central work area.
- Choose File | Save | give the file a name and click Save.
Note: Since this is not the main page of the site, we can call it anything we want. In this example, I’ve used the file name seaotters.htm, avoiding spaces and special characters to create a page that will work on any Web server.
- Name the new page seaotters.htm and save it in your main Web site folder.
- Choose File | Properties to give this page a Title and set other page-wide properties, such as background colors and margins.
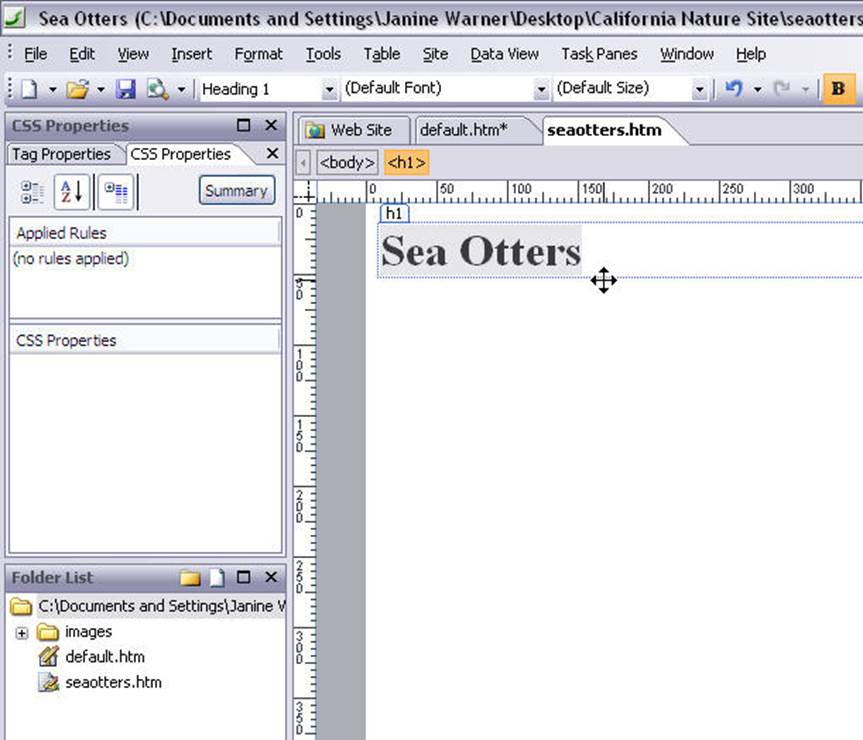
- For now, we’ll just add some text to this page so we have something here to identify it. Place your cursor in the top of the work area, enter “Sea Otters,” and format it with an H1 tag.
- Choose File | Save to save this page and we’re ready to create a link to it from the page we’ve been building.
To switch back to the page you designed in the first part of this lesson, click on the default.htm tab at the top of the work space. Notice that any time you have more than one page open in Expression Web, you can switch between pages by selecting the corresponding tab at the top of the page.
Now we’re ready to create that link to another page in your site.
- Click to select an image or section of text that you want to make into a link. For this example, click and drag to select the Sea Otters text in the small layer in the left side of this design.
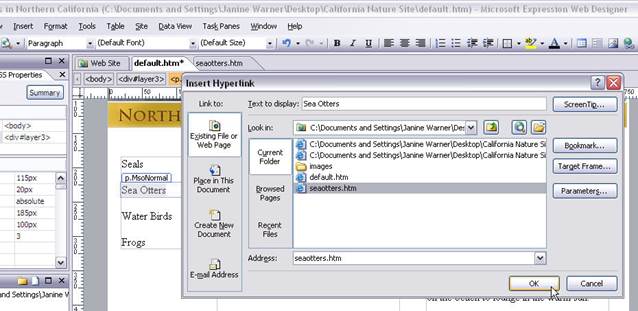
- Choose InsertàHyperlink
- Select the page you want to link to. For this example, select the seaotters.htm page we just created.
- Click OK and the link is automatically set.
Now let’s create a link to another Web site and then preview the page in a browser to test both links.
To create a link to another Web site, follow these instructions.
- Click to select the image or text you want to use as the link. For this example, click to place your cursor in the middle layer, just under the photo of the seals.
Here's a tip: It can be challenging to place your cursor next to an image in a layer, but the easy solution is to first click anywhere on the image to select it, then use the right arrow key on your keyboard to move your cursor off the image yet keep it in the layer. Then press the enter key to add a space and you're ready to add your text below the image.
- For this lesson, enter the words "California Nature Conservancy." The click and drag to select the text.
- Choose InsertàHyperlink
- To create a link to another site, enter the full URL of the site in the Address field. For this example, enter http://www.nature.org/.
- Click OK and the link is automatically set.
To test your links, you have to preview your page in a browser.
- First, save your page by choosing File | Save.
- Note: If you are saving this file for the first time and you have used the images provided, Expression Web will offer to copy those files into your root site folder. Click yes and they will automatically be copied into your folder.
- Then choose File | Preview in Browser | and select a browser from the pull out list.
Note: You can preview your pages with Expression Web using any browser available on your computer. Testing your pages in different browsers is an important part of ensuring your pages will work for the broadest audience on the Internet.
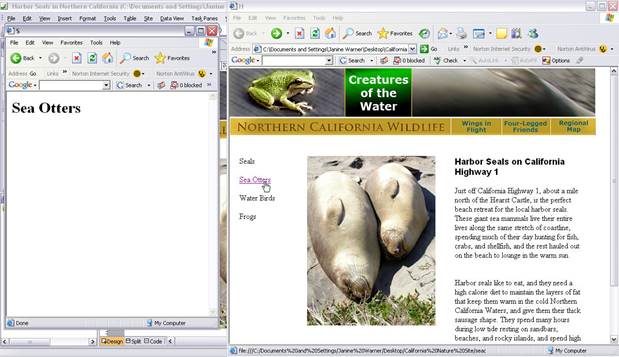
With your page previewed in a program like Internet Explorer, shown here, you can click on your link and open the page you created with the headline Sea Otters. When you preview pages on your hard drive, you can follow links through your site just as they will work when the site is transferred to your Web server. Links to other Web sites will work if you are connected to the Internet.
The better you follow standards, the better your pages will display. Expression Web was designed to follow contemporary Internet standards, and it includes settings you can change if you are working on sites that use older standard settings and you can change your options as standards change.
You can change standards settings in Expression Web by changing preference settings in the Page Editor Options dialog.
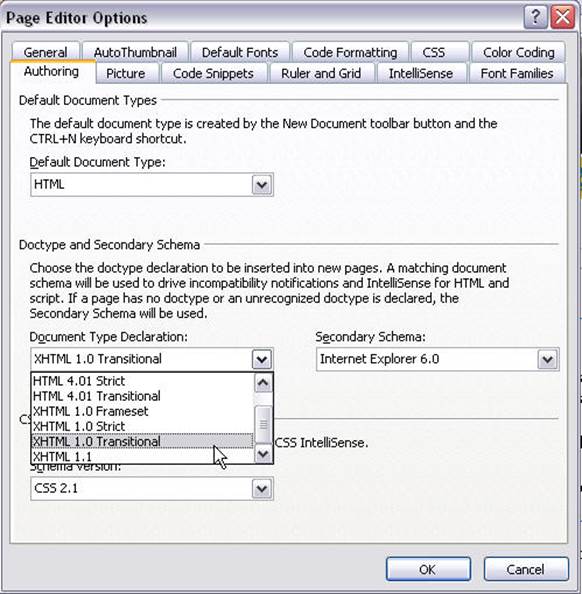
- Choose Tools | Page Editor Options and select the Authoring tab.
Note: By default, Expression Web is set to create code as XHTML 1.0 Transitional. Why you might change these settings gets complicated because standards have changed over the years on the Web and they continue to do so.
- If you don’t have a reason to change the standards settings, leave them set to XHTML 1.0 Transitional.
Note: When you change these settings, you alter the HTML and CSS options in the program and how they are displayed in Expression Web. If you’re working on a site that was built using previous standards and older Web design programs, you may want to alter this setting – at least until you can upgrade your site to more modern standards.
There are many other ways to create Web designs with this program, including other CSS design options, tables, frames, templates, and more dynamic development features for ASP.NET sites.

This lesson was designed to provide a quick introduction to Expression Web, cover basic page design features, and standards.
This Virtual Lab was created by Janine Warner, a presenter for Total Training, and author of more than a dozen books about the Internet, including the Expression Web Bible.